Undertaking the replacement of a bathtub is a substantial endeavor, one that can significantly enhance both the appearance and functionality of your bathroom. Whether you are seeking an aesthetic upgrade or addressing structural concerns, the ability to proficiently replace a bathtub is fundamental. At We Improve For You, we are dedicated to providing expert guidance through each phase of this process, ensuring that your project is executed seamlessly. In this comprehensive guide, we offer a step-by-step approach to help you successfully accomplish your bathtub replacement project.
Preparation
Before starting any renovation project, thorough preparation is key. Begin by turning off the water supply to the bathroom. Ensure you have all the necessary tools and materials, including a new bathtub, plumbing fittings, and safety gear. It’s essential to measure the dimensions of your new bathtub and the space it will occupy to ensure a proper fit.
Remove the Old Bathtub
Removing the old bathtub is often the most challenging part of this project. Start by disconnecting the drain and overflow pipes. Remove any fixtures, such as faucets and handles. Carefully detach the bathtub from the surrounding walls and flooring. Be cautious to avoid damaging any plumbing or electrical components. If you encounter stubborn connections, consider seeking professional assistance.
Prepare the Surrounding Area
After removing the old bathtub, the critical step of preparing the surrounding area comes into play. A thorough inspection should be conducted to identify any potential issues such as water damage, mold, or rot. If any problems are detected, immediate repair and reinforcement of the subfloor are essential to ensure a stable foundation for the new bathtub. Additionally, for older homes, it presents an excellent opportunity to update the plumbing system, enhancing both functionality and safety. Before proceeding with installation, it is imperative to guarantee that the area is impeccably clean and level, ensuring a successful and long-lasting bathtub replacement.
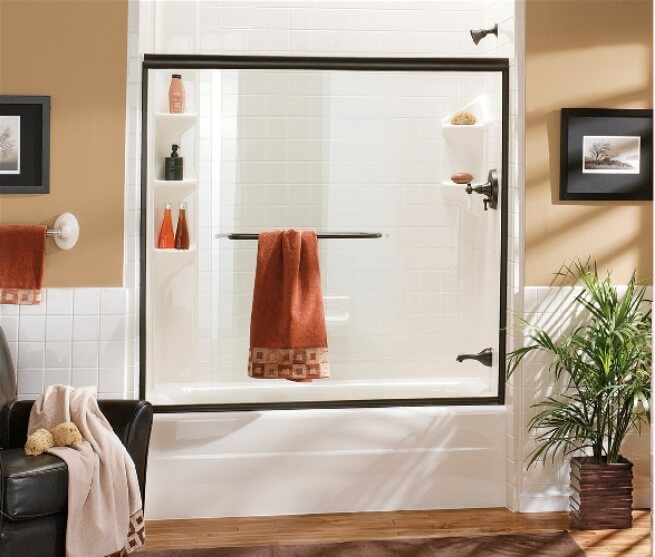
Install the New Bathtub
To install the new bathtub, begin by carefully positioning it within the designated space, ensuring proper alignment with the drain and overflow openings. Securely connect the drain and overflow pipes, employing either plumber’s putty or silicone sealant to create a watertight seal. It’s crucial to double-check the alignment and ensure the bathtub’s levelness for optimal functionality and aesthetics.
Seal and Finish
In the final step of the bathtub replacement process, it is crucial to prioritize water damage prevention and ensure a secure, watertight seal. To achieve this, utilize a top-tier bathtub caulk or sealant to carefully seal the edges where the new bathtub meets both the surrounding walls and floor. Ensure a clean and polished finish by smoothing the caulk meticulously. Patience is key at this stage, as it is imperative to allow ample time for the sealant to fully cure before the bathtub can be safely used. This meticulous approach guarantees the long-term integrity and functionality of your newly installed bathtub.
With our step-by-step guide and expert insights, you can confidently replace your bathtub, enhancing your bathroom’s functionality and aesthetics. However, if you’re unsure about any aspect of the process, it’s always wise to consult with professionals. At We Improve For You, we’re committed to helping you achieve the bathroom of your dreams. Don’t hesitate to reach out to us if you have any questions or need assistance with your bathtub replacement project. We’re here to help you every step of the way.